The beauty of canning is in its simplicity: capturing the essence of today so that you can savor it tomorrow, without fear of what the future holds.
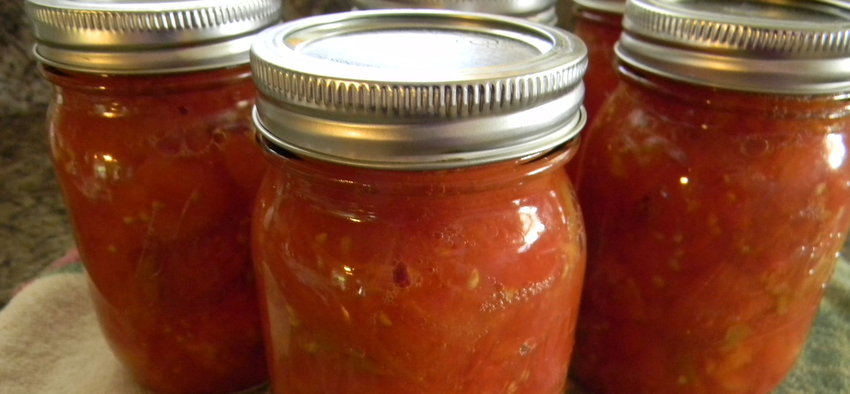
Here are step-by-step canning instructions for diced tomatoes from the Ball Blue Book:
Ingredients and Equipment:
– Fresh tomatoes
– Lemon juice or citric acid
– Canning jars, lids, and bands
– Water bath canner
– Jar lifter
– Lid lifter/magnetic wand
– Large pot for blanching
Instructions:
1. Prepare Your Equipment:
– Wash jars, lids, and bands in hot, soapy water and rinse well.
– Inspect jars for cracks and chips. Discard any defective ones.
– Place jars in the canner filled with water, bring it to a simmer (180°F/82°C), and keep them hot until ready to use.
– Put lids in a small saucepan, cover with water, and bring to a simmer. Keep them simmering until ready to use.
2. Prepare Tomatoes:
– Wash tomatoes thoroughly.
– Blanch tomatoes in boiling water for about 1 minute or until the skins split.
– Transfer tomatoes to a bowl of ice water to cool. This makes the skins easier to peel.
– Peel tomatoes and remove cores.
– Dice tomatoes into desired size.
3. Fill Jars:
– Add 1 tablespoon of lemon juice or 1/4 teaspoon citric acid per pint jar (double for quart jars) to help maintain acidity and preserve color.
– Pack diced tomatoes into hot jars, leaving 1/2-inch headspace.
4. Remove Air Bubbles and Adjust Headspace:
– Insert a non-metallic spatula or chopstick into the jar, gently press against the tomatoes to release any trapped air bubbles.
– Add more diced tomatoes if necessary to maintain proper headspace.
5. Wipe Jar Rims:
– Use a clean, damp cloth to wipe the rims of the jars to remove any residue or drips.
6. Apply Lids and Bands:
– Using a lid lifter or magnetic wand, remove lids from the simmering water and place them onto the jars.
– Screw on bands fingertip tight. Do not over-tighten.
7. Process Jars:
– Place filled jars into the canner rack, ensuring they are covered with at least 1-2 inches of water.
– Bring water to a full rolling boil.
– Process pint jars for 35 minutes and quart jars for 45 minutes, adjusting for altitude if necessary.
8. Remove Jars and Cool:
– Once processed, turn off the heat and let the jars sit in the canner for 5 minutes.
– Using a jar lifter, carefully remove the jars from the canner and place them on a towel or cooling rack.
– Allow jars to cool undisturbed for 12-24 hours.
9. Check Seals:
– After cooling, check the seals by pressing down on the center of each lid. If the lid doesn’t flex, the jar is sealed.
– Any unsealed jars should be refrigerated and used promptly.
10. Label and Store:
– Label each jar with the contents and the date processed.
– Store jars in a cool, dark, dry place.
– Use within a year for best quality.
Follow these steps carefully for safe and successful canning of diced tomatoes from the Ball Blue Book.